Saturday, 7 April 2012

Nail Art Interlude - Perfect Polka Dots

Please excuse the terrible flash; I only got this one picture before the paint was completely ruined at work.

Let's not even pretend that I am good at keeping a blog, but I am good at making pretty nails sometimes and that is what's important.  Even though this was intended to be a blog of my artistic excursions.  Oh well!

This was incredibly easy - everyone loves pretty polka dot nails, probably because they are so versatile.  You can use pretty much any two colours you have and they always look cute and whimsical.

I used to use toothpicks to get a polka dot effect, but I was always dissatisfied with the result: they always made more of a large blob than a polka dot, and often they smudged while drying because blobs of paint take forever to dry!

The other day though, I figured out a fantastic way to get perfect dots of uniform size - or smaller if you prefer and have a steady hand.  Are you ready?


Simply push a straightpin into a pencil eraser and voila - the perfect dot making tool!  Pushing the pin in far enough to stay is painful on the fingertips so I suggest using something else to jam it in there.

Not your teeth, or they will chip.  Not that I would know anything about that or anything.

Then dip the flat end of the pin into a drop of nail polish and dot away!


And that's it!  A fun way to spend a half hour instead of doing the dishes.

Have a great weekend and, if you celebrate it, a Happy Easter!

Thanks for reading!

Love, Emily.

Saturday, 11 February 2012

Pumpkin Spice Cupcakes.


I love making cakes from boxed mixes. 

Some people don't think they taste as good as home-made from scratch cakes, and yeah, they're probably right...but hey, they're so fast!  There's absolutely no shame in making cakes from boxes.

Especially when they're so easy to play around with and add things to!  The basic batter comes together in two seconds, leaving plenty of time for experimentation and playfulness.  That said...Pumpkin Spice Cupcakes.


 You Will Need:

-one boxed cake mix of a relatively neutral flavour.  I used white but vanilla or something like that would work too.  Spice cake would probably be phenomenal.
-The ingredients needed to prepare mix - see back of whatever box you chose.
-one can of pumpkin puree - NOT pumpkin pie filling (pie filling will make your cake turn out all soupy.)
-brown sugar and white sugar
-ginger, cinnamon (and nutmeg and allspice...I didn't have these on hand and the cakes turned out delicious without them, but if you want the TRUE pumpkin pie flavours better add them.)
-extra sugar and flour.


I started by preparing the white cake mix according to the directions on the package. 


 My biggest complaint about boxed cake mixes is that the cake always seems to turn out WAY too soft and crumbly, which is especially troublesome for cupcakes.  If you like your cake like that go ahead and leave it as is, but I have found that a very simple solution to this problem is to add to your mix about three quarters of a cup of flour:


...and about the same amount of sugar.  Otherwise the flour thickens up the cake just fine, but makes it taste floury.


  Once you've got your cake mix to the consistency you like, it's time to add the pumpkin!


Harry Potter would be proud.  Add about half of the can and mix well.  The batter will go pretty orange very quickly.


It will also taste absolutely disgusting, unless you like the flavour of stewed vegetables in your dessert mixes, so at this point I added another half cup of white sugar and an entire cup of brown sugar.


For those of you saying, "But Emily! That's SO much sugar!!!"
Why yes, yes it is.
So, now our cake tastes like cake again and not like squash - time to add the flavours that have made grandma and starbucks alike absolutely famous around thanksgiving - pumpkin spice.

So many people buy pumpkin spice blend and that is perfectly ok, but buying the spices seperately means you now have four different spices to work into other recepies and not just one spice that only works in pumpkin pie.  It's a cost-effectiveness thing, and not a food-snobbery thing, for me. 

Most pumpkin spice blends are just a very simple mixture of four familiar and friendly spices: cinnamon, ginger, allspice and nutmeg.  I have found blends that have cloves in them too, but those four are the sacred foursome of pumpkin spice. 

Go ahead and dump a little of each into your cake batter.  When I cook things, I hardly ever measure anything so I didn't think to take measurements, but if you are the sort of person who measures I am going to say about a teaspoon and a half of each.


  If you want to at this point, you could add a splash (or a teaspoon) of vanilla.  I completely forgot to, but if you want to you absolutely should - vanilla is like the salt of the baking world; it enhances and brightens all other flavours in a dish while adding a tiny, secret hint of itself to the dish as well.  Vanilla is every sweet thing's friend.


Batter batter batter batter.  Do the all-important taste test, and see if you think it's lacking in anything.  Add a little more of something if you want to.

Pour into muffin cups.  I didn't have any cupcake liners but if you do I cannot reccomend them enough, unless you want a big pile of failure cupcakes like I had with the first batch.


It's very important to add a decorative sprig of rosemary so that everyone knows you are a fancy professional baker.

Bake the cupcakes in an oven of the temperature reccomended by the all-knowing box, for as long as the box says to.  Mine was 350 degrees for twenty two minutes.

While they were in there, in between batches of failure cupcakes, I whipped up a quick cream-cheese frosting made of half a cup of cream cheese, a quarter cup of margerine, a teaspoon of milk, and like an entire bag of icing sugar.  The recipie called for a cup but you know what mixing frosting is like: a lie.  A terrible, wasteful lie.  But the frosting was delicious.
I added some pumpkin spice to it as well.


I chose cream cheese icing because it is my favourite and I thought it would go well with pumpkin.  It really, really does, and if you like cream cheese icing absolutely try it!  But if you prefer your cakes to be iced with something a little less heavy, you could also top them with whipped cream, which was my second choice.  Nothing goes with pumpkin pie like whipped cream.

Once the cakes are baked and THOROUGHLY COOLED, frost those suckers!


I also dusted mine with a little more cinnamon - just to look pretty really but it tastes fine.  The icing is sweet enough to keep the cinnamon from being too spicy.

And enjoy those sweet babies!  Because pumpkin flavoured desserts should be for all year round, not just at thanksgiving!!!


(Man, there's that rosemary again...who keeps putting it there?)

Have an amazing weekend full of fun times and sweet things! 

Thanks for reading!

Love, Emily.

Wednesday, 8 February 2012

Nail Art Interlude - Love Letter Nails


Whew!  So, that "I'm going to post something at least every other week and take my new blog seriously" thing went pretty well, yes? 

Okay, once more with feeling!

Valentines day is coming up, and usually I am pretty "meh" towards this particular holiday.  I don't despise it like a lot of people do, but I don't particularly care to observe it either...most years, my boyfriend and I just watch some movies (or one year the Daytona 500...haha!) and hang out together. 

And unlike christmas, I don't even really like the decorations for Valentines day...I never was much of a fan of pinks, reds or hearts, so that kinda explains that.  This year however, for some reason, I am just loving all the pinks and reds and hearts showing up at work and in stores.  So, tonight I sat down with my nail polishes and made myself some Valentines-day themed "love letter" nails, and I'm sharing how I did it with you!

You Will Need:
Nail polishes in white, blue, red, and clear (or any colours you like.)
A very fine paintbrush you don't mind dipping in nail polish
A black fine-tip Sharpie or other pen
A toothpick or other small poking device

1) Start by painting all your nails, except one, white.  You can use another pale colour, (I think pale pink would be pretty) or leave them plain if you want to.


2) Paint your remaining nail blue, or another dark colour that will contrast very obviously against white.  I chose my middle nail for this because it has the most surface area - this will be important! - but is more visible than the thumb.

3) On one of your white nails, make a small red dot.


4) Use your toothpick to pull it down towards your skin, into a teardrop shape.  Work quickly, before the paint dries!


5) Do the same thing on the other side of your nail.  Tada; you've just made a cute little heart!


Mine turned out kind of pinkish, and since I decided I was not into doing a second coat at that scale, I decided I was okay with it.  However, if you want your hearts to be red, I reccomend doing it with a red polish you know and trust to be RED and not need a second coat to look that way.

6) Repeat for all white nails, and once dry (very important!) add a coat of clear to seal.


I very strongly suggest doing this with a friend - do not be like me and try to do your non-dominant hand by yourself!  You will be screaming by the time you are done.  Besides, nail-painting with a friend is a fantastic way to get some Valentines love!

7) Now it's time for the blue nail.  Take your very fine paintbrush and dip it into the white paint:

8) Veeerrrrrry carefully, make a white rectangle (or as close to a rectangle as you can) in the middle of your blue nail.  Let it dry, and clearcoat it.


9) Drip a drop or two of your red paint onto some scrap paper, and use your toothpick to make a tiny heart on top of the rectangle.  At this size, it does not have to be a true heart: a "V" will do.  It will look like a heart no problem.  Let dry, clearcoat.


10) Using your black finetip pen, draw very carefully around the little heart and around the square, adding two diagonal lines from the heart tops to the corners to make it look like an envelope.  Now you have an envelope sealed with a heart on your nail!


Enjoy those love letters!!!


And remember: Valentines Day isn't just about love between romantic partners; it's a day to show your love for ALL the people dear to you.  So if you are feeling left out this Valentine's Day, arrange a friend date and have some cookies and nail art!


Have a fantastic day!

Love, Emily.

Friday, 6 January 2012

Paper Doll Fridge Magnets!

The purse refashion had to wait, because another project completely took over my attention this week!


A week ago, I was at a friend's house and she had these fridge magnets that were like paper dolls: a dude in his underwear and a bunch of amusing t shirts and costumes for him to wear.  I absolutely adore paper dolls, and have ever since I was a kid, so these amazed me and my whole brain turned into a big frenzy of wantwantwant!

My friend told me where she had gotten them, and it turned out they weren't even that expensive; but unfortunately, I'm not really in a place right now where I can spend money on something just because I think it would be fun.  It was too bad.

But the next day I realised, "Hey - if I had some magazines and some of that magnetic sheeting, I could MAKE those in like, five minutes!!!"  The idea wouldn't leave my head so I abandoned my half-finished purse to make paper doll magnets.

I started by running to the dollar store and buying a couple sheets of magnet material, which came to about three dollars.  Then I dug out my stash of fashion magazines and flipped through them page by page until I had found a bunch with nice, forward-facing clothes on them.  I tried to find ones that were roughly the same size and didn't have text printed all over them - not easy! 

When I felt like I had enough, I cut them out and put them aside.  Now I needed the actual doll to dress with them!


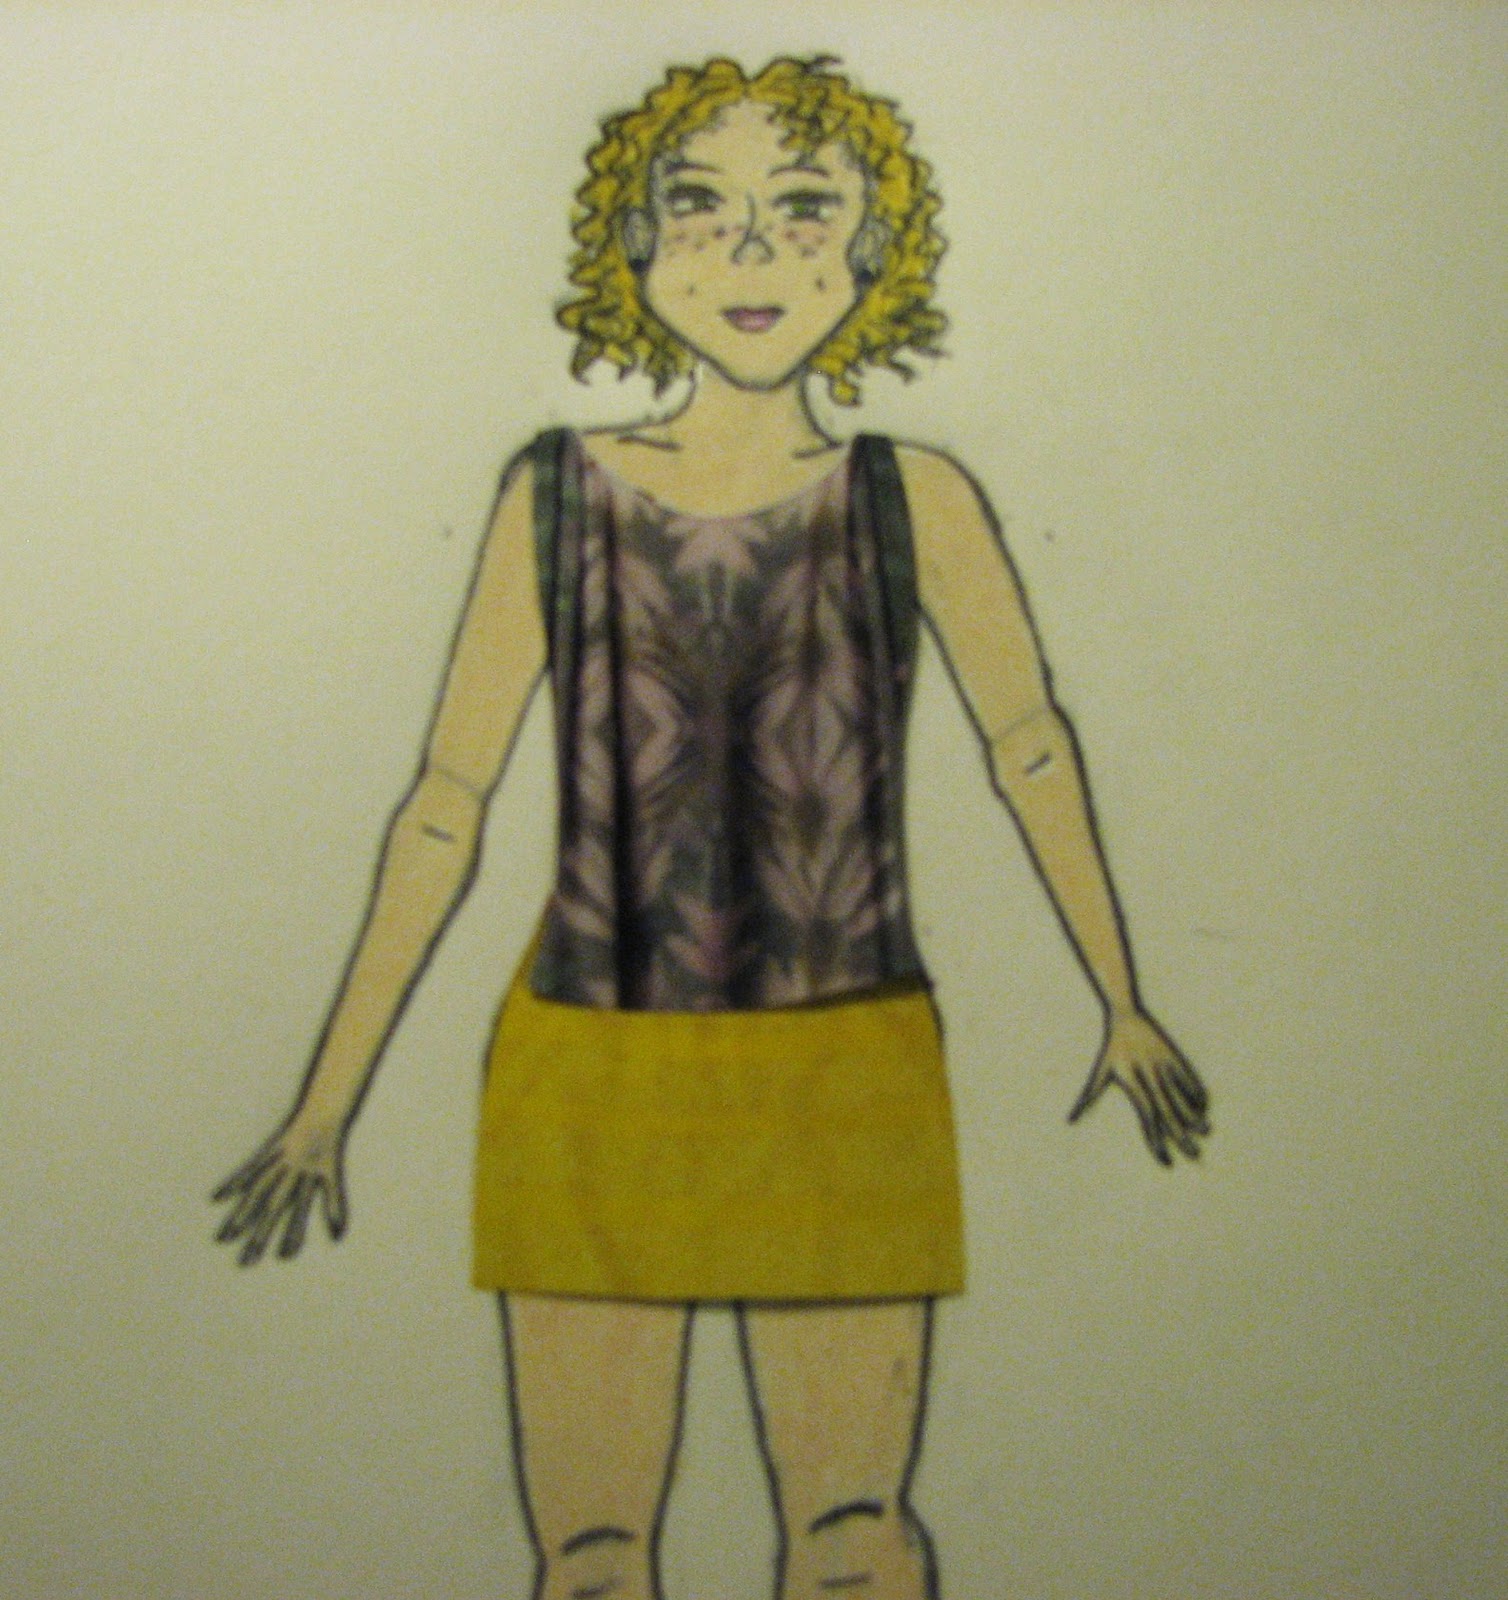
I decided rather than flip through a hundred thousand magazines to find a picture of a model in the right size, whose face I liked, it would be easier ( and more fun!) to just draw my own.

I got out a sheet of nice watercolour paper and placed a shirt cutout on it, to use as a guideline for the body.


  I rendered it loosely at first, and then solidified the lines and added detail.


(I left her braless because some of the shirts I'd cut out had plunging necklines and I didn't want to mar the look with a drawn-on bra, and also because let's face it; bras are stupid and pretty pointless for a paper doll.)

My natural drawing style is very cartoony, but because the outfits were photos of real things I tried to make the head and face as detailed as possible while still staying true to "me". 


My, but I am a talented photographer.  Anyway, now came what was surprisingly the funnest part of the whole endeavour: trimming the outfit pieces down to fit her.  Some pieces were far too big for the doll I had designed:


others would never fit the body type I had chosen to draw:


and some were too small, but I liked the patterns enough that I just couldn't not use it!  This one was too small to be a dress...


but a quick cut and paste job turned it into an awesome t-shirt!


And the blue dress above would never ever fit her hips, so I turned it into a simple tank top.  Others just needed to be trimmed slightly to fit shoulders, etc.

When that was done, I coloured the whole thing with pencil crayons and cut it out.


Then I glued it to the magnet sheet using an ordinary school glue stick.  (Aannnnd I forgot to get any pictures of this stage...huh.  Well, I'm sure you're all clever people and can imagine it.)

Are you imagining the doll stuck to a large black sheet of magnetic material? Good, because she was.  Then, I cut that out. 

As a final step, I separated her legs and torso, her arms and her hands from each other.  The reason for this was that some of the outfits had been photographed to face a different way than straight ahead, or had their sleeves folded in front of them or something.  This way, she was movable and could fit all of them.


I did the same gluing and cutting steps on all of the outfit pieces, and voila!  Interchangeable awesomeness!


An example of the movable arms and hands in action:


It's not perfect - because of the kind of magazines I had to work with, I was limited to a certain type of fashion and also to a certain body type.  Also, I had wanted to make a guy doll, but oddly there weren't many ads for guy's clothes in Cosmo and Vanity Fair. 

But for what it is, I think it turned out perfectly.  It's already as fun as I thought it would be - today she's wearing her wild-print pencil skirt and guy's sweater, jacket and scarf. 


Only one problem left - what do I make with all the leftover magnet scraps???

I hope you make something cool today!  Thanks for reading!  Love, Emily.