Some people don't think they taste as good as home-made from scratch cakes, and yeah, they're probably right...but hey, they're so fast! There's absolutely no shame in making cakes from boxes.
Especially when they're so easy to play around with and add things to! The basic batter comes together in two seconds, leaving plenty of time for experimentation and playfulness. That said...Pumpkin Spice Cupcakes.

You Will Need:
-one boxed cake mix of a relatively neutral flavour. I used white but vanilla or something like that would work too. Spice cake would probably be phenomenal.
-The ingredients needed to prepare mix - see back of whatever box you chose.
-one can of pumpkin puree - NOT pumpkin pie filling (pie filling will make your cake turn out all soupy.)
-brown sugar and white sugar
-ginger, cinnamon (and nutmeg and allspice...I didn't have these on hand and the cakes turned out delicious without them, but if you want the TRUE pumpkin pie flavours better add them.)
-extra sugar and flour.

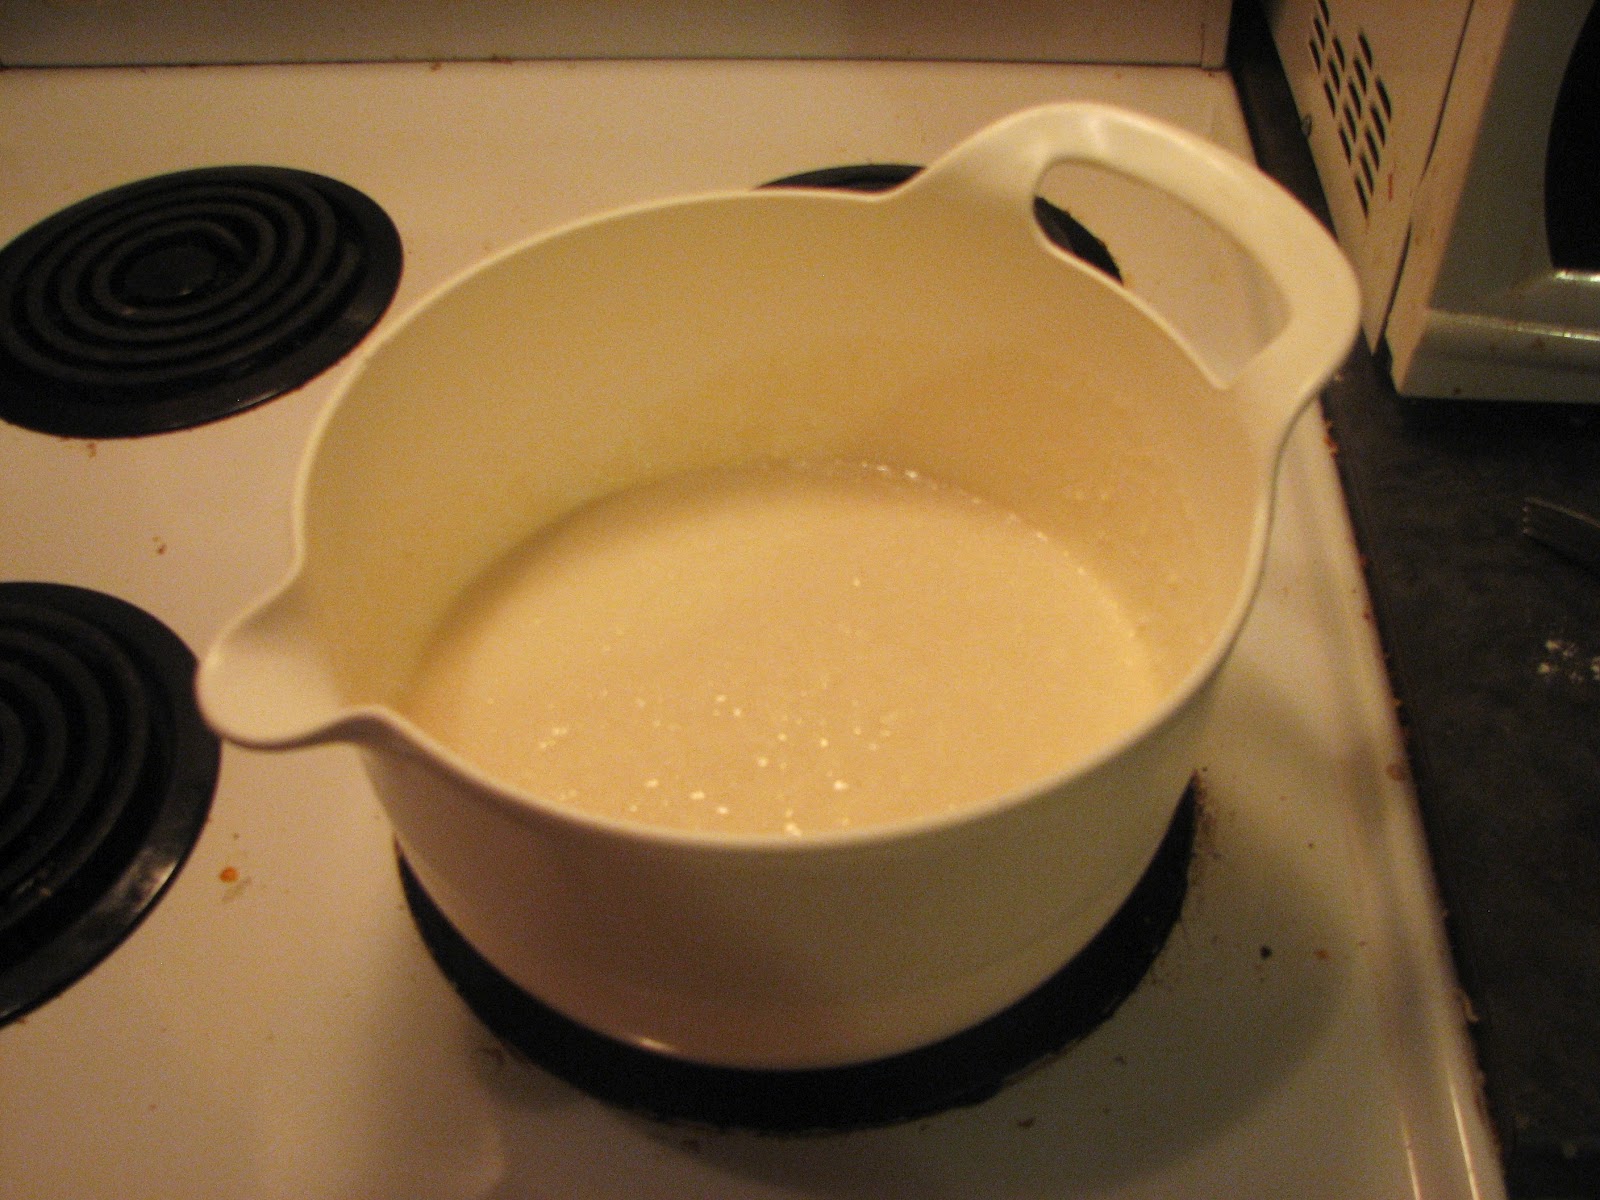
I started by preparing the white cake mix according to the directions on the package.

...and about the same amount of sugar. Otherwise the flour thickens up the cake just fine, but makes it taste floury.

Once you've got your cake mix to the consistency you like, it's time to add the pumpkin!

Harry Potter would be proud. Add about half of the can and mix well. The batter will go pretty orange very quickly.

It will also taste absolutely disgusting, unless you like the flavour of stewed vegetables in your dessert mixes, so at this point I added another half cup of white sugar and an entire cup of brown sugar.

For those of you saying, "But Emily! That's SO much sugar!!!"
Why yes, yes it is.
So, now our cake tastes like cake again and not like squash - time to add the flavours that have made grandma and starbucks alike absolutely famous around thanksgiving - pumpkin spice.
So many people buy pumpkin spice blend and that is perfectly ok, but buying the spices seperately means you now have four different spices to work into other recepies and not just one spice that only works in pumpkin pie. It's a cost-effectiveness thing, and not a food-snobbery thing, for me.
Most pumpkin spice blends are just a very simple mixture of four familiar and friendly spices: cinnamon, ginger, allspice and nutmeg. I have found blends that have cloves in them too, but those four are the sacred foursome of pumpkin spice.
Go ahead and dump a little of each into your cake batter. When I cook things, I hardly ever measure anything so I didn't think to take measurements, but if you are the sort of person who measures I am going to say about a teaspoon and a half of each.


If you want to at this point, you could add a splash (or a teaspoon) of vanilla. I completely forgot to, but if you want to you absolutely should - vanilla is like the salt of the baking world; it enhances and brightens all other flavours in a dish while adding a tiny, secret hint of itself to the dish as well. Vanilla is every sweet thing's friend.

Batter batter batter batter. Do the all-important taste test, and see if you think it's lacking in anything. Add a little more of something if you want to.
Pour into muffin cups. I didn't have any cupcake liners but if you do I cannot reccomend them enough, unless you want a big pile of failure cupcakes

It's very important to add a decorative sprig of rosemary so that everyone knows you are a fancy professional baker.
Bake the cupcakes in an oven of the temperature reccomended by the all-knowing box, for as long as the box says to. Mine was 350 degrees for twenty two minutes.
While they were in there, in between batches of failure cupcakes, I whipped up a quick cream-cheese frosting made of half a cup of cream cheese, a quarter cup of margerine, a teaspoon of milk, and like an entire bag of icing sugar. The recipie called for a cup but you know what mixing frosting is like: a lie. A terrible, wasteful lie. But the frosting was delicious.
I added some pumpkin spice to it as well.

I chose cream cheese icing because it is my favourite and I thought it would go well with pumpkin. It really, really does, and if you like cream cheese icing absolutely try it! But if you prefer your cakes to be iced with something a little less heavy, you could also top them with whipped cream, which was my second choice. Nothing goes with pumpkin pie like whipped cream.
Once the cakes are baked and THOROUGHLY COOLED, frost those suckers!

I also dusted mine with a little more cinnamon - just to look pretty really but it tastes fine. The icing is sweet enough to keep the cinnamon from being too spicy.
And enjoy those sweet babies! Because pumpkin flavoured desserts should be for all year round, not just at thanksgiving!!!

(Man, there's that rosemary again...who keeps putting it there?)
Have an amazing weekend full of fun times and sweet things!
Thanks for reading!
Love, Emily.


